Hi everyone. Im very new to the platform and dont know anything much on Linux CLI. I hope someone can help me… How can I install SSL HTTPS login on admin page? Im running on Centos on this server Thanks everyone

Use port 9091, not 9090, for HTTPS. The certificate that is used van be changed in tje SSL/TLS settings of the admin console (by default, Openfire will generate a self-signed certificate).
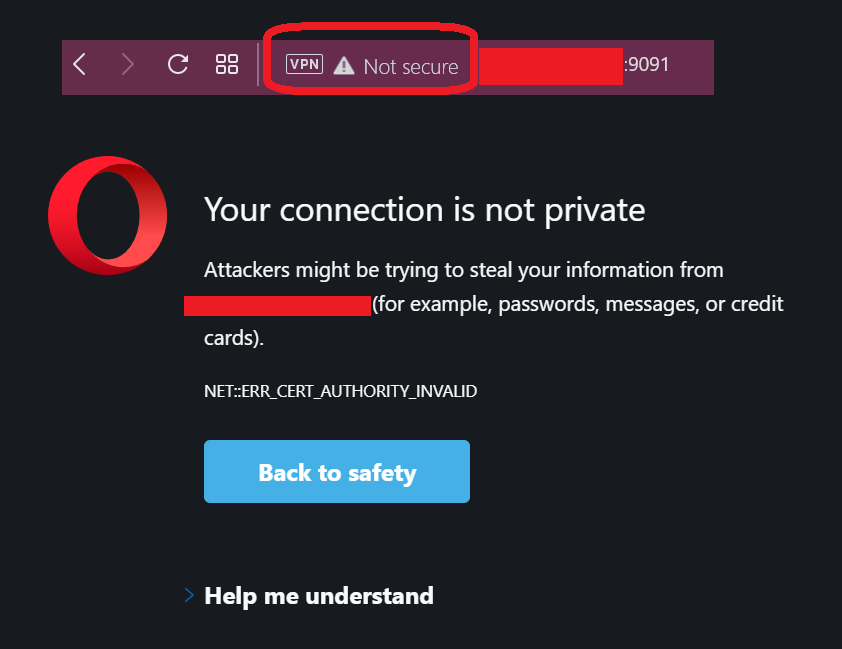
Hi. I tried the 9091 it goes to a prompt says Connection is not private. Do i need to generate new SSL Certificate using Keytool?
Here’s the guide that im following
- Decide on your Openfire server’s domain.
- Create a self-signed SSL server certificate for your server domain. Note: you may already have one if your Openfire server domain matches an existing web domain with SSL. If so, you can skip to step 4.
- [Optional] Have a certificate authority (CA) certify the SSL server certificate.
- Generate a certificate signing request (CSR).
- Submit your CSR to a CA for signing.
- Import the server certificate into the keystore. Note: if you are going to use a self-signed certificate generated in step 2, the certificate is already imported and you can skip this step.
- Remove default certificates from the keystore.
- Import client certificates into the truststore.
- Adjust the Openfire configuration with proper keystore and truststore settings.
1. Decide on a Server Domain
The Openfire server domain should match the host name of the server; for example, “example.com”. Your user accounts will have addresses with the format “user@example.com” like email addresses. We’ll assume the domain is “example.com” for the rest of the examples.
2. Create a self-signed server certificate
In order to create a self-signed server certificate go to the command line and change directories to the resources/security directory of your Openfire installation. You should see the default keystore and truststore files. First, you should change the default keystore password:
keytool -storepasswd -keystore keystore
keytool will ask for the old password (by default it is changeit) then the new password. Now we’ll create a certificate using the keytool:
keytool -genkey -keystore keystore -alias example.com
where you should substitute your server’s name for example.com. The keytool will ask for the store password, then several pieces of information required for the certificate. Enter all the information but remember to complete with your server’s name when asked for your first and last name. After you have entered all the required information, keytool will ask you to verify the information and set a key password. You must use the same key password as the store password. By default you get this by simply hitting ‘enter’ when prompted for a key password.
If you later change the keystore password remember to change the entries’ password as well using the keytool:
keytool -keypasswd -alias example.com -keystore keystore
3. Obtain a CA signed certificate
If you decide to get a CA signed certificate, you must first export the certificate in the standard CSR format. You can do this with the keytool:
keytool -certreq -keystore keystore -alias example.com -file certificate_file
Where you should substitute your server’s name for example.com and the name of the certificate file you wish to produce for certificate_file. Submit the generated CSR to the CA and follow their instructions to get it signed.
4. Import server certificates
If you had a CA sign your server certificate, or if you have an existing SSL certificate, you must import it using the keytool.
keytool -import -keystore keystore -alias example.com -file signed_certificate_file
It is important that the alias not already have an associated key or you’ll receive an error.
5. Remove default certificates
After importing your certificate you must remove the default certificates using the keytool.
keytool -delete -keystore keystore -alias rsa
keytool -delete -keystore keystore -alias dsa
6. Import client certificates
If you require clients to verify themselves using certificates, obtain their certificates and import them into the truststore file rather than the keystore. First, you should change the default truststore password:
keytool -storepasswd -keystore truststore
keytool will ask for the old password (by default it is changeit) then the new password. Now import each certificate using the keytool:
keytool -import -keystore truststore -alias user_name -file certificate_file
7. Configure Openfire
Open the Openfire Admin Console in your favorite browser and add or change the following system properties:
- xmpp.socket.ssl.active – set to ‘true’ to active SSL
- xmpp.socket.ssl.port – the port to use for SSL (default is 5223 for XMPP)
- xmpp.socket.ssl.storeType – the store type used (“JKS” is the Sun Java Keystore format used by the JDK keytool). If this property is not defined, Openfire will assume a value of “jks”.
- xmpp.socket.ssl.keystore – the location of the keystore file relative to your Openfire installation root directory. You can leave this property blank to use the default keystore.
- xmpp.socket.ssl.keypass – the keystore/key password you changed in step 2.
- xmpp.socket.ssl.truststore – leave blank to not use a truststore, otherwise the location of the truststore file relative to your Openfire installation root directory.
- xmpp.socket.ssl.trustpass – the truststore/key password you changed in step 6.
You will need to restart the server after you have modified any of the above system properties.
Any follow up on this?
Have you checked letsencrypt?